Tio Pepe proves that its Sherry is up to the challenge

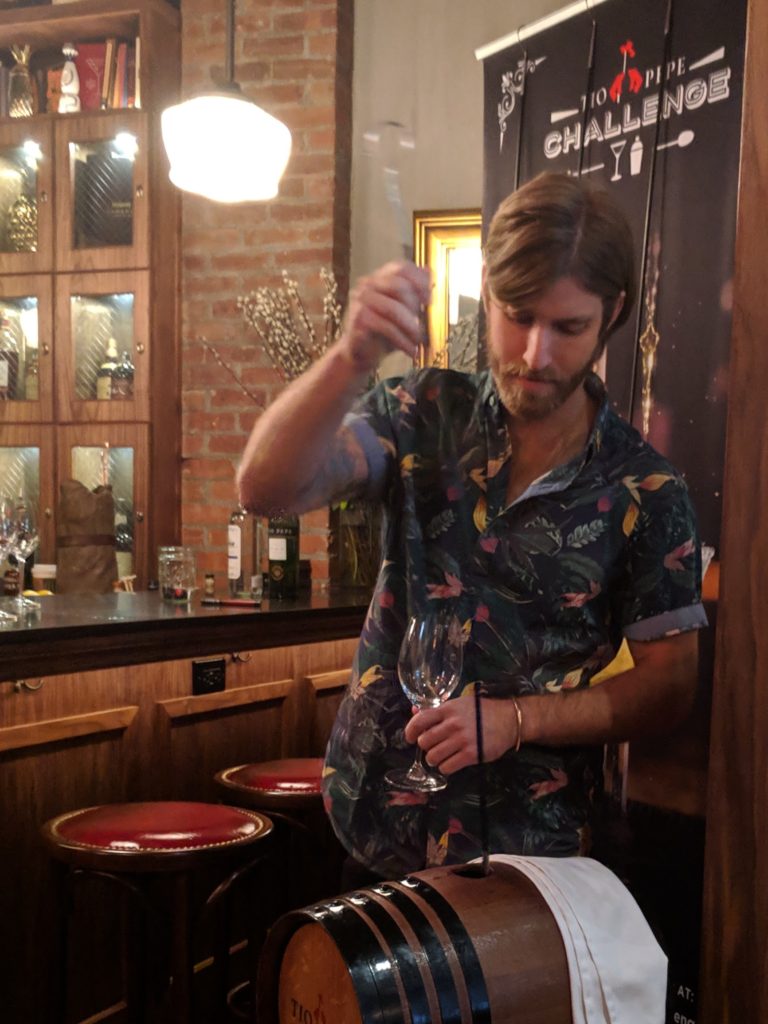
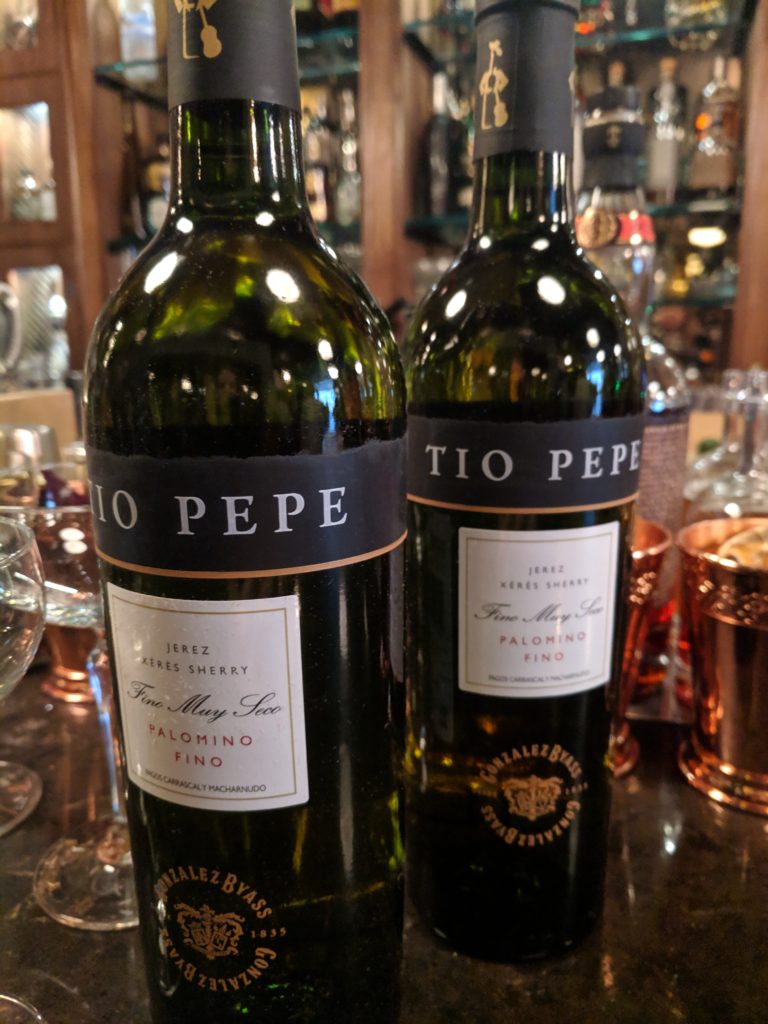
I have previously extolled the virtues of Sherry, but it bears repeating: Sherry is super food-friendly, delicious and produced in a wide range of styles suitable for nearly anytime and any occasion. Sherry is also super versatile, as was demonstrated earlier this month at the Tio Pepe Challenge.

The 2019 edition of the Challenge marked the sixth year of this international competition, which brings bartenders and mixologists head to head with the goal of crafting the perfect Sherry cocktail. Held in mid-April, the six national finalists converged in New York city at Osamil to compete.

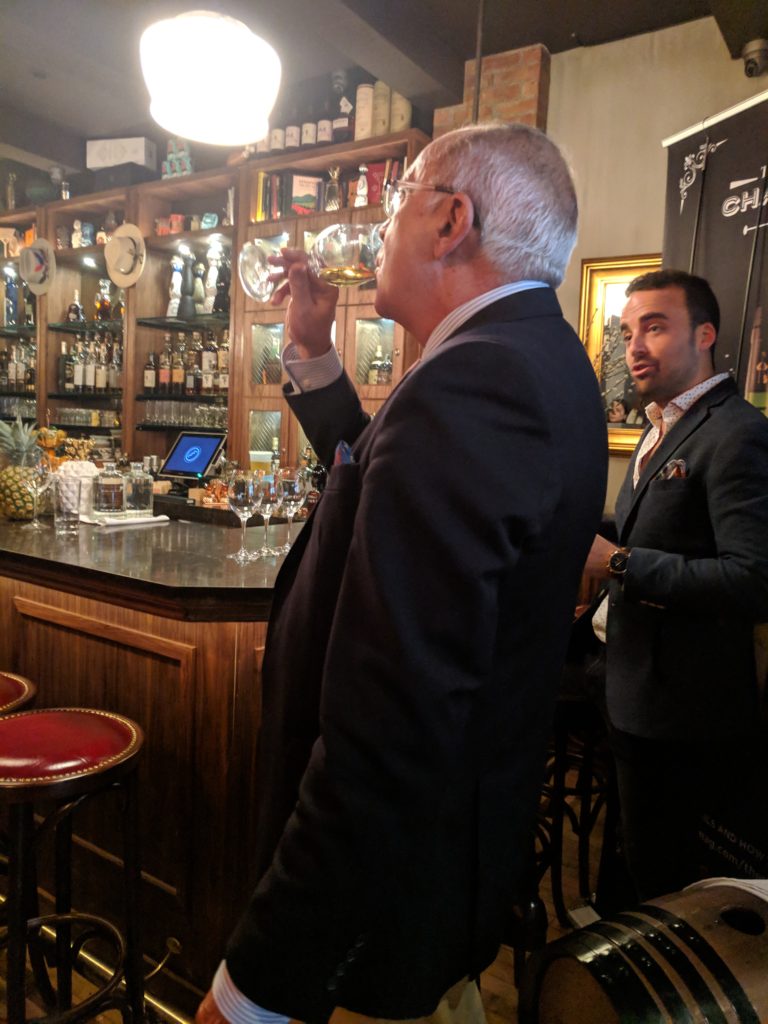
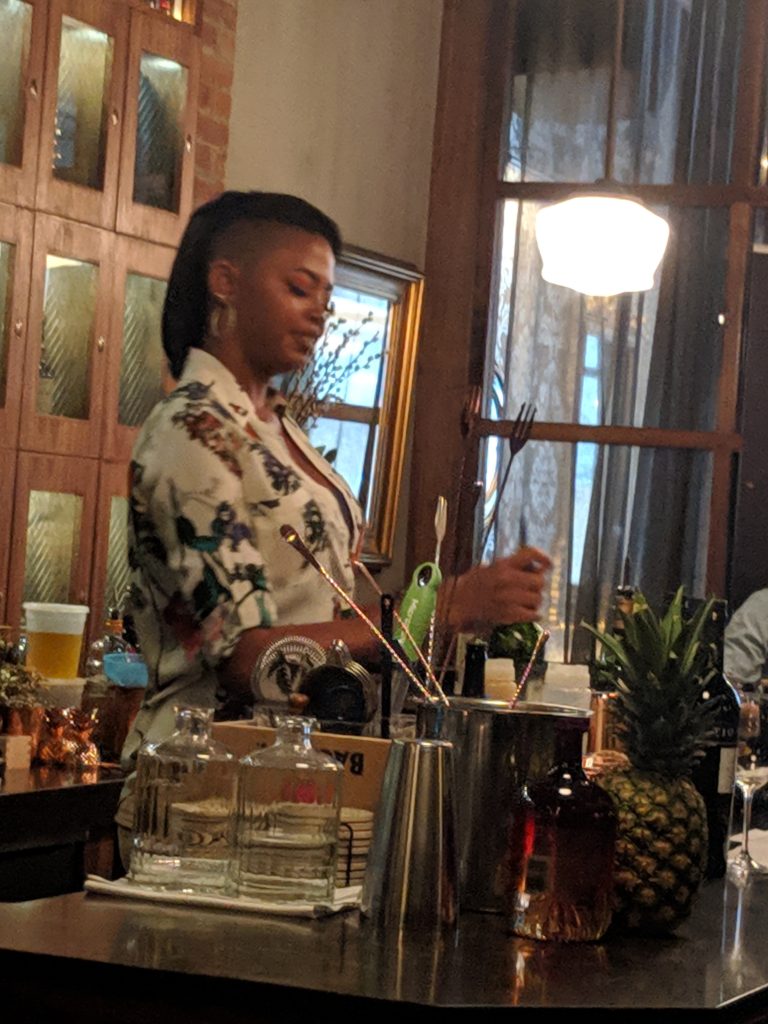
Each person was required to complete a blind tasting, demonstrate their Sherry pouring technique wielding a venencia and last but not least, participate in a cocktail showdown. The competing cocktails featured different Tio Pepe products and ranged from sweet to super savory (toasted sesame seeds, anyone?).

Judged by Master Blender Antonio Flores, International Brand Ambassador Álvaro Plata, and Courtney Schiessl of The Tasting Panel, the U.S. Final saw Javier Ortega Diaz of Vegas’ The Libertine Social beat out Joshua Fossitt, Carlie Steiner, Tiana Dillard, Alexander Lazzari, and Patrick McDonald. As the winner, Diaz will travel to participate in the International Final on May 15 in Jerez, Spain.

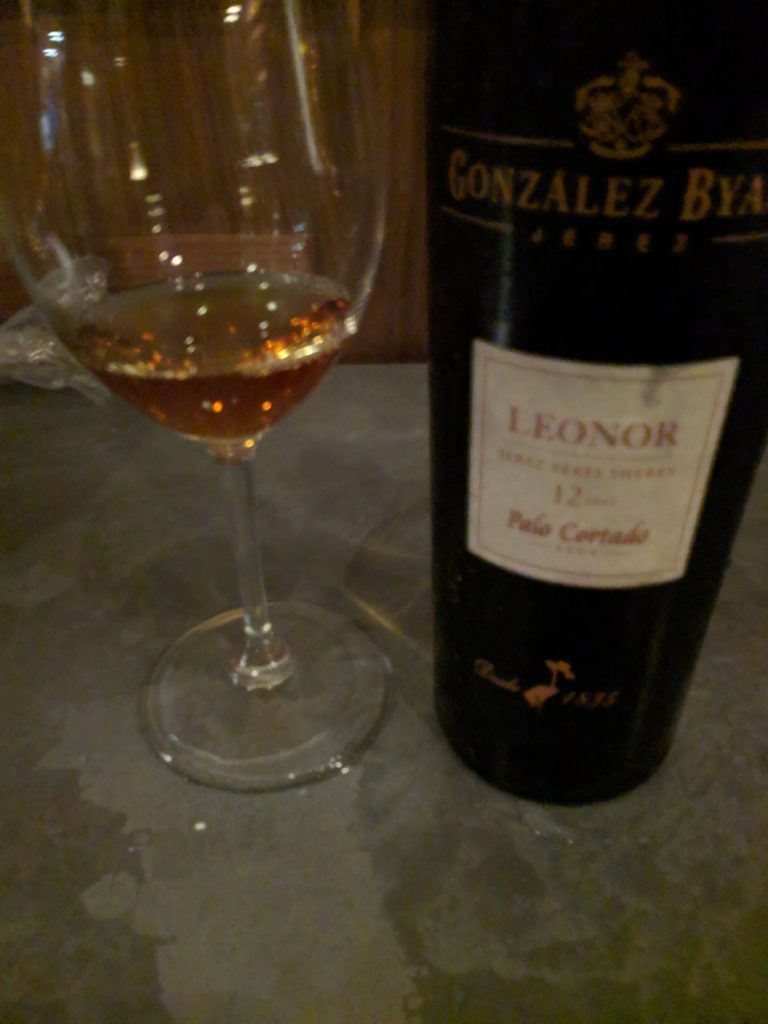
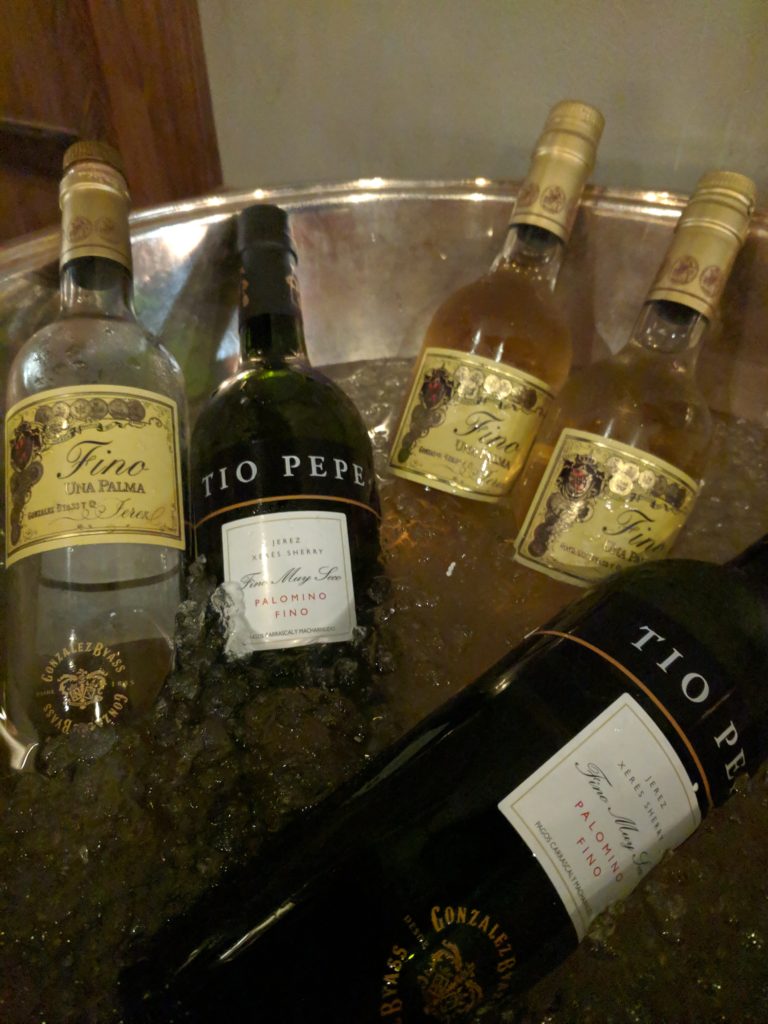
Guests at the event could taste the cocktails and also had the opportunity to taste other Tio Pepe sherries, while enjoying a selection of oysters, tapas and other light bites. Overall, the Challenge proved that Sherry can hold its own in the bar setting as well as it does at the tapas bar or table.

Here is the recipe to the winning cocktail:
Sophia by Javier Ortega Diaz, The Libertine Social, Las Vegas. WINNER

2 oz. Tio Pepe Fino Sherry

¾ oz. blood orange liqueur

½ oz. freshly squeezed Lime Juice

½ oz. homemade kumquat, rosemary, thyme syrup

1 oz. homemade sparkling hibiscus water

Garnish with slice kumquats, rosemary, thyme, and edible flowers.

Channeling Catalan Cheesecake at Home

I’ve always enjoyed cheesecake as a dessert option, with a particular penchant for pumpkin cheesecake. But, it wasn’t until I tried Catalan cheesecake at Bodega 1900 that I really fell in love with cheesecake. If you’ve never had Catalan cheesecake, I like to think of it as the love child of flan and traditional cheesecake, which results in a much creamier, silkier texture.

I recently hosted a tapas dinner for friends and decided that I really wanted to serve a Catalan-style cheesecake for dessert. Determined to find an authentic recipe, I discovered and watched this video.  The video refers to their version of cheesecake as Basque, not Catalan, but visually it looked similar to the one I enjoyed at Bodega 1900, so I chose to use it as a model.

After viewing the video, making some notes and doing some conversion calculations, I simply hoped for the best. Thankfully, I was not disappointed and proudly served the cake to our friends (and then proceeded to eat the leftovers all weekend!). You can eat cheesecake for breakfast, right? It’s just an omelette — eggs, cheese, milk/heavy cream and (oh right) sugar; I guess it’s a sweet omelette!

Catalan Cheesecake Recipe
Preheat oven to 410°F

Ingredients:
4 eggs
600 grams cream cheese (~24 oz)
350 grams heavy cream (~12.5 oz)
200 grams sugar
1 Tablespoon flour

Notes on the ingredients – I substituted Mascarpone for cream cheese because I didn’t think the Spaniards would be buying Philadelphia cream cheese; substituted coconut palm sugar for regular, granulated sugar because that is what I used our home; and substituted a wheat-based flour for general, all-purpose gluten-free flour because I no longer bake with gluten.

Directions:
Beat eggs and sugar in a bowl.
Add cream cheese and blend well.
Add flour, blend until smooth.
Add heavy cream to the mix and blend well.

Soak parchment paper and line mold with the wet paper – it should hang over the sides of the mold*.
Pour mixture into mold.
Tap mold on the counter to remove air bubbles.
Place into oven; bake for 40 minutes.
Turn off oven and leave slightly ajar for 10 minutes; cake will still be quite loose.
Cool for several hours; Cake will drop in height.
Remove from mold; remove paper.
Refrigerate leftover cake.

*I didn’t have the same size mold as was used in the video, so I chose to bake half of the mixture in a loaf pan (for 35 minutes) and the remainder in a spring-form pan (for 25 minutes). The loaf pan cake was the better of the two because it was thicker and thus moister in texture and also developed a nice burnt crust to it.